So here’s the thing. My “team” is me. Just me. And even a team of one apparently needs a way to track what the hell they’ve actually done all week, because “trust me boss, I fixed stuff” doesn’t hold up great in a status meeting.
I looked at the existing options. Every single one costs too much money when all I really needed was: something broke, I fixed it, write that down. I don’t need Jira. I need a place to log a ticket, close it, and generate a report that says “look, I did things, please don’t fire me.”
So I made my own. It logs tickets. It closes tickets. It makes reports that make me look competent. That’s it. That’s the whole feature set. And it has a nice project tracker as well.
Now the confession part: I vibecoded this thing with Claude, and I’ll say that with my chest. But let’s be clear, “vibecoded” does not mean I sat there sipping a beer while the AI did my job for me. This took months. Hundreds of hours. Several hundred dollars I definitely could’ve spent on literally anything else. It was less “AI writes my app” and more “AI and I argue about edge cases at 3Am on a Tuesday.”
And that got me thinking. This is pretty badass, I should get this out there with a price tag on it. But a 1 time buy you own it and host it yourself deal. So I did. It’s out there, it’s for sale.
Also, despite being built by a team of exactly one guy, it’s not stuck that way. It scales if your team ever grows past “just me, lol.”
If you’re sick of software that wants to be your entire personality, or you just want something that does the one job you need without forty extra steps, check it out. Because honestly, I’m pretty damn proud of this project.
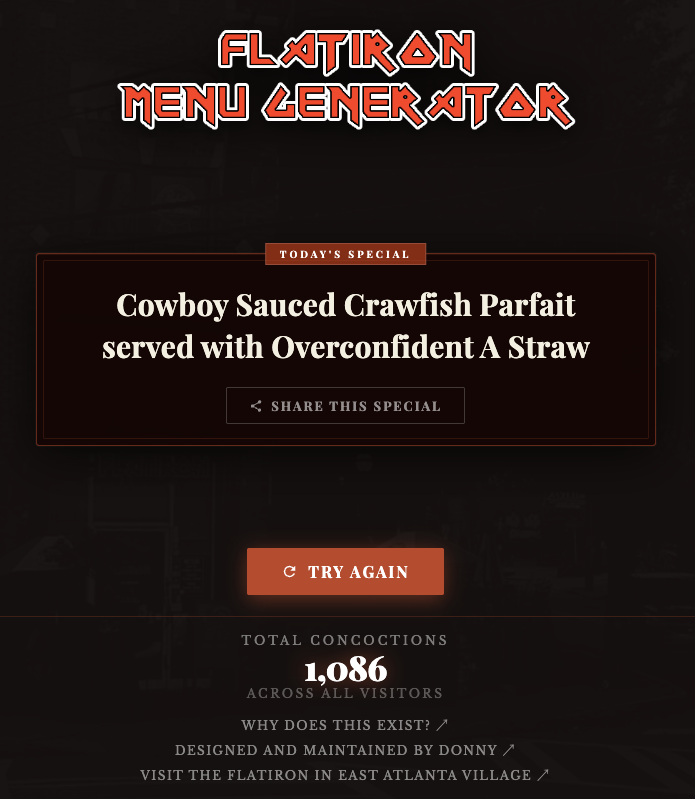 Flatiron Specials